Sandee's church threw her a sweet little shower last Sunday. Sandee and two other girls from her church are all due this summer. Here are some pictures from her shower... I didnt take many as I got put to work rather quickly.
 |
| Some of the gifts (maybe 1/5) |
 |
| Charlee helping open gifts with Sandee and Grandma... by the end by these tables were covered in gifts--- I mean COVERED. I hate I did not get a picture of all the loot! |
 |
| Though I dont like strawberry, this cake was pretty good. |
 |
| Charlee and her friend. I tried to take 5 pictures of these two and Charlee closed her eyes in all the pictures but this one (and even this one her eyes are about to shut). I guess my flash was just a bit too much. :) |
For some reason, Sandee totally trusts my decorating sense and kept after me about what kind of letters to put above my new niece's crib. They decided to use the same bedding from Charlee's nursery but wanted a slightly different flare to the room. I found this
link on pinterest.... and thought it would be perfect. I just had to figure out how to make them. My niece's name will be Samantha Rae. They will call her Sami. Though I love the double stacked names in the link, we thought Sami Rae was a little to country sounding and decided to just use Sami.
Though the letters above were made with glass glitter, I did not want to spend that kind of money on glitter with glass in it, so I just went with regular glitter. Here is a quick guide to how I did it.
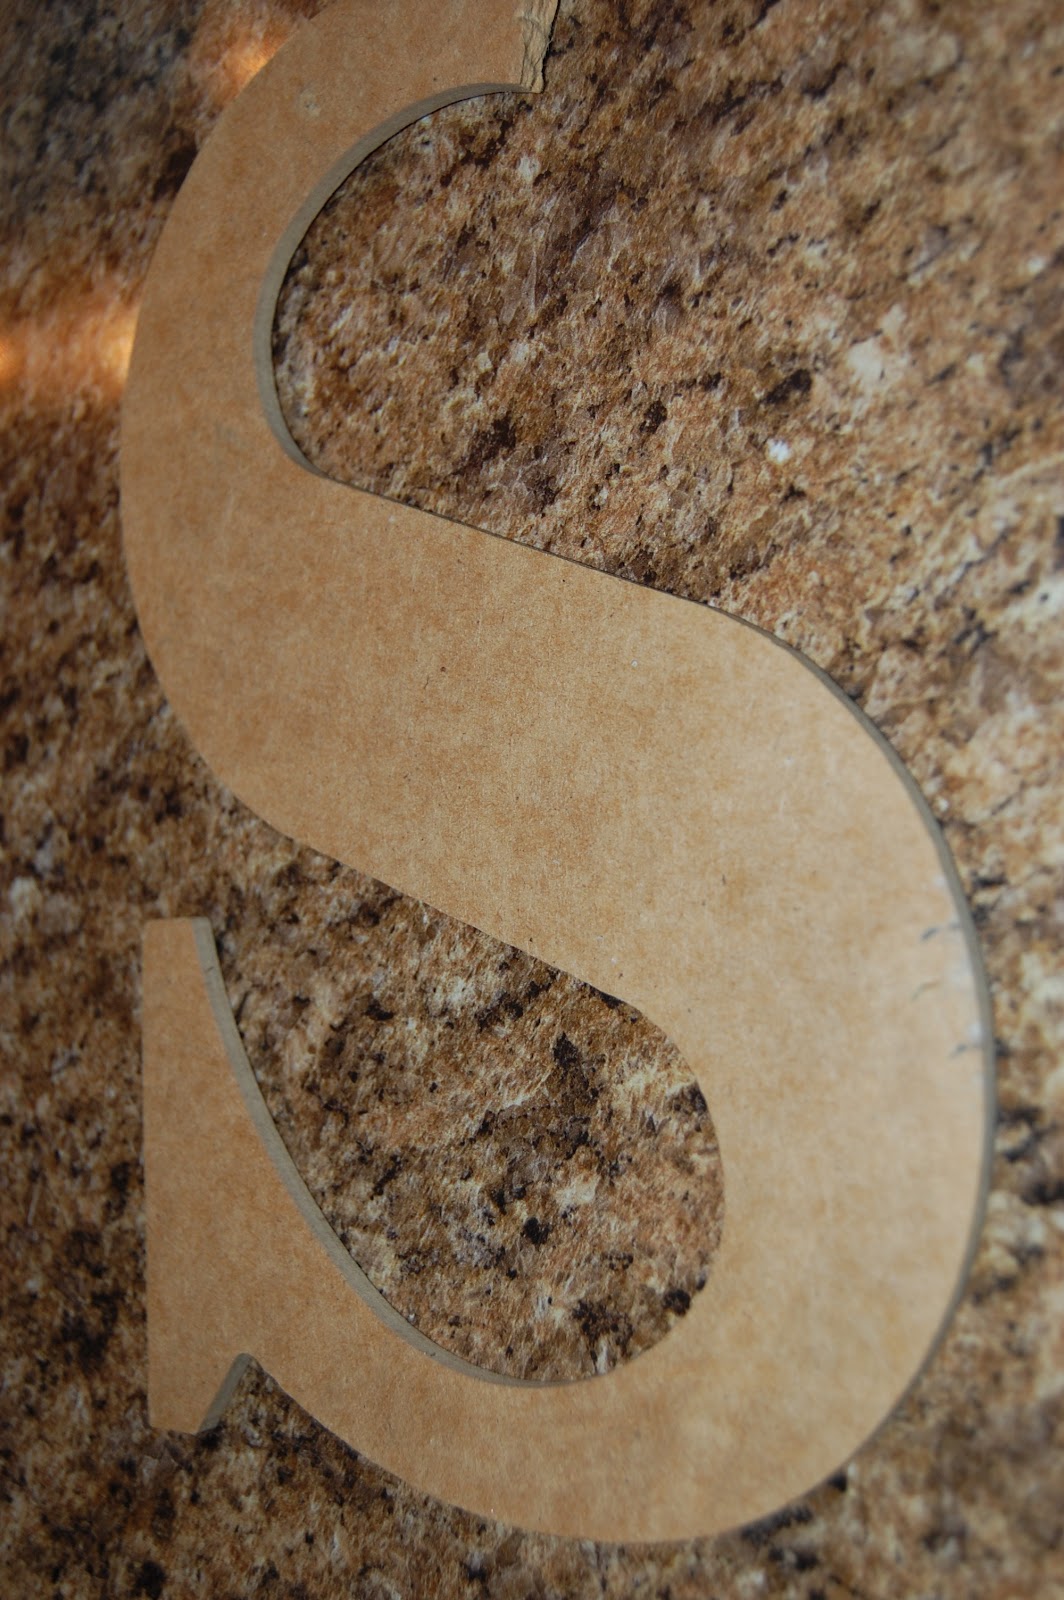
 |
| Thin wood letters. I broke this one trying to make the holes. But, if you are going to string the letters with ribbon, make sure you put holes in before the glitter. Though it can be done after, it is much harder (as I found out). I just used a thick nail to make the holes. |
 |
| Bought six small tubes of glitter and mixed the colors together with a lot of the rose, dark gold, and navyish color. |
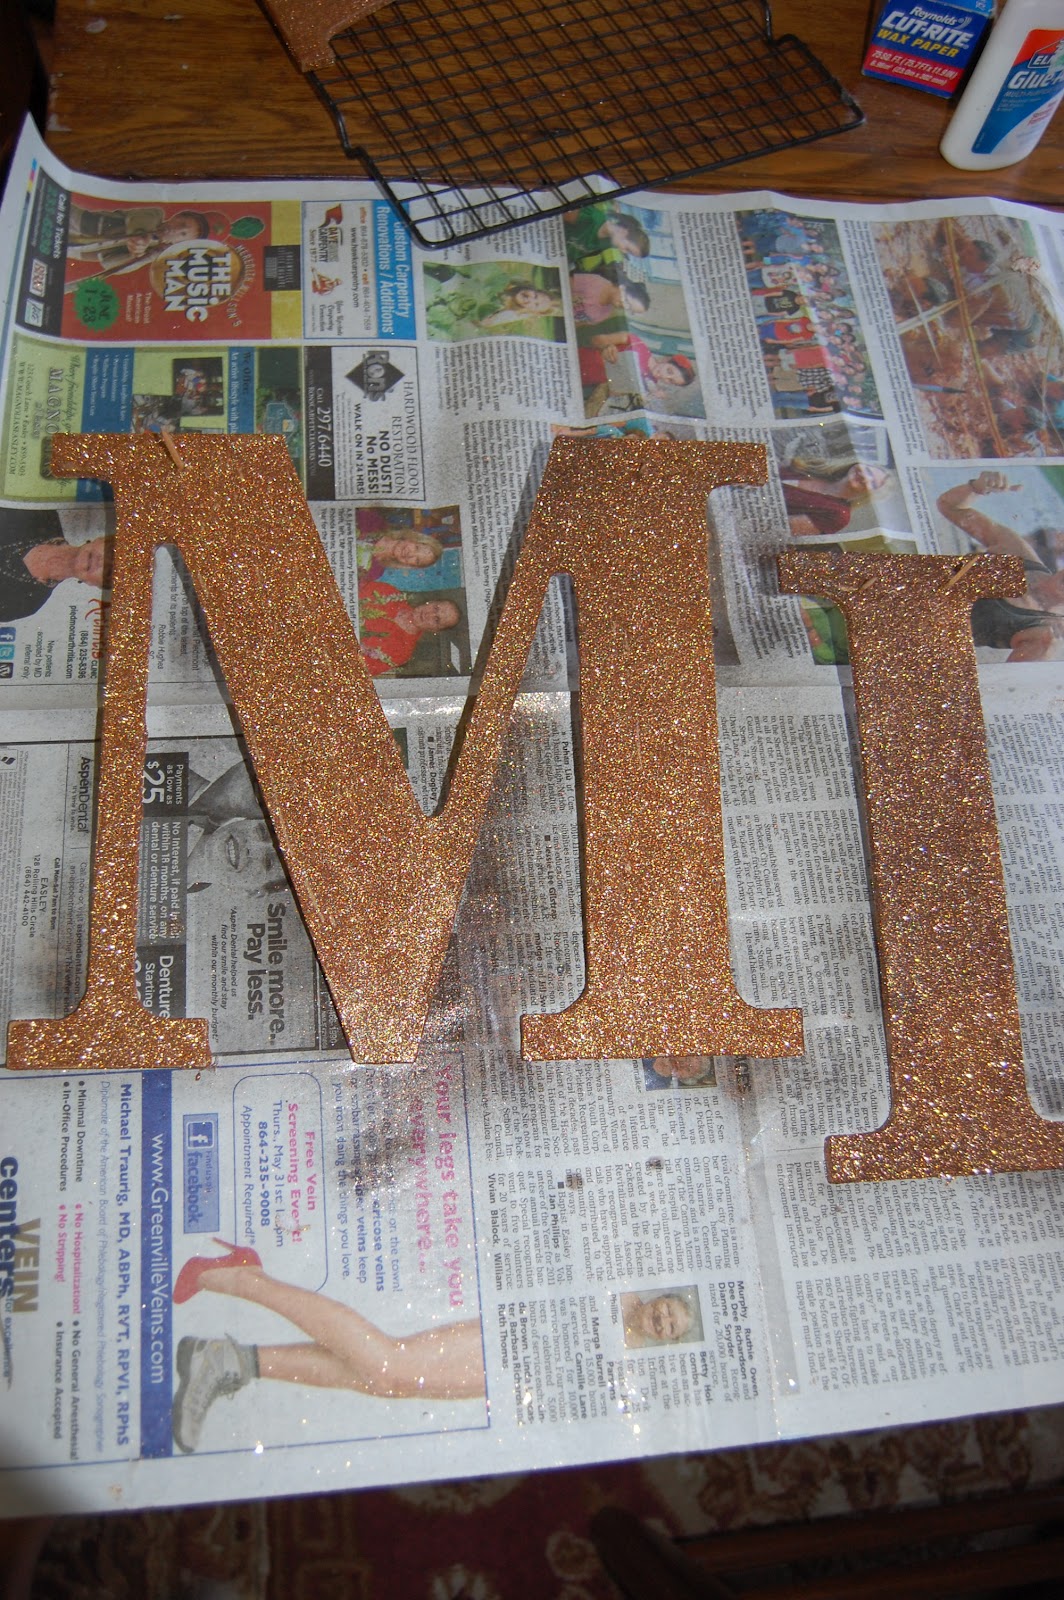
 |
| I just used Elmer's glue and smeared it all over the letters and then shook the glitter mix on top. Here is the M and I after the first treatment. Though you cant see it, I have toothpicks in the nail holes to keep the glue and glitter from going in the holes. Just remember to move your toothpicks periodically (again learned my lesson the hard way on that one) |
 |
| After the glitter dried, I used glitter spray paint to just to adhere the glitter to the letters even better. (honestly, I could have probably skipped this step, though I do like how it made some of the area darker--- added some depth.) The step that you need to do is add Modge Podge on top of the dried glitter/ paint with a foam brush. This step will keep glitter from falling off. It also mutes the glitter a bit which worked out well for the bedding Sandee has. | |
|
|
 |
| Finished product. *** Just noticed the second clothes pin is not straight. I also think we may need to slant the "I" a bit more--- Sandee be sure to fix that when you get the vintage clothes pins. Anyway, we hung the letters with nails and then Sandee bought old fashioned looking clothes pins to replace the normal ones up there. I think it is a good look! |
 |
| Here is the other gift I made. This heart shaped wreath is right above the changing table. These are also super easy to make. With a yard of fabric, glue, and foam heart, and a pencil you can make a sweet little wreath. |
We are definitely getting excited to meet baby Sami. Hopefully she will be here by the end of this month or very beginning of July! Hang in there Sandee--- you are almost done!


No comments:
Post a Comment